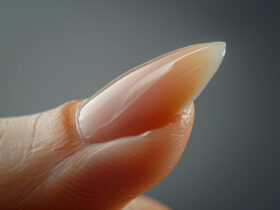
Achieving salon-worthy nails at home is easier than you think! With the right DIY nail care routine, you can pamper your nails and enjoy beautiful, healthy results without stepping out. In this article, we’ll explore simple steps for DIY nail care that will leave your nails looking gorgeous and well-maintained.
Start with a Gentle Soak:
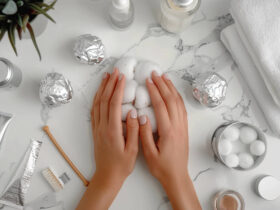
Begin your DIY nail care routine with a warm, gentle soak. Fill a bowl with warm water and add a few drops of moisturizing soap or a splash of natural oils like olive or coconut oil.
Soak your nails for about 5-10 minutes to soften cuticles and loosen any dirt or debris.
Shape and Trim Your Nails:
Once your nails are softened, use a nail clipper to trim them to your desired length. Trim straight across and round the tips slightly to prevent snagging.
Use a nail file to shape your nails. Whether you prefer square, round, or almond-shaped nails, filing helps create a polished and uniform look.
Gently Push Back Cuticles:
Use a cuticle pusher or the edge of a wooden stick to gently push back your cuticles. Be careful not to cut them, as cuticles serve as a protective barrier against bacteria and infection.
Exfoliate for Smoothness:
Apply a gentle exfoliating scrub to your hands and nails to remove dead skin cells and promote smoothness. You can make a DIY scrub using sugar and olive oil for an effective and natural option.
Moisturize Thoroughly:
Hydrate your hands and nails with a nourishing hand cream or cuticle oil. Massage the moisturizer into your cuticles and nails to lock in hydration.
For an extra treat, consider using a rich overnight hand mask to deeply nourish your hands and nails while you sleep.
DIY Nail Strengthener:
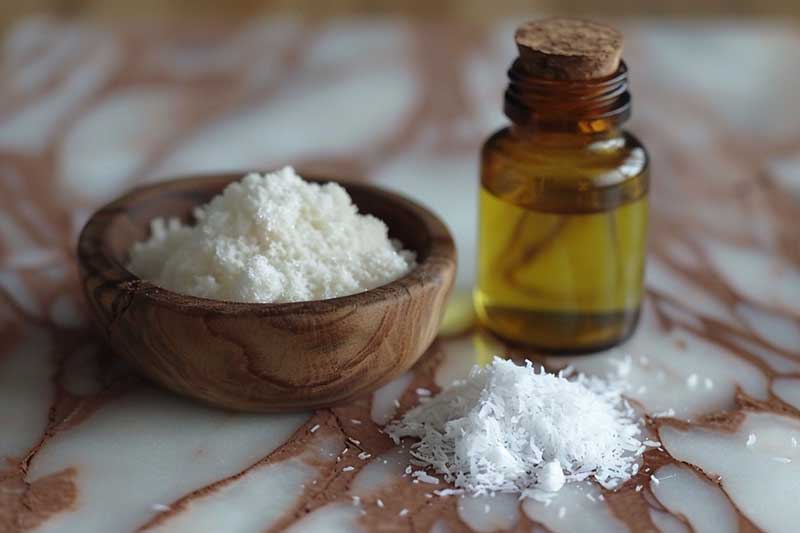
Create a simple DIY nail strengthener by mixing equal parts of castor oil and coconut oil. Apply this mixture to your nails and cuticles to promote strength and prevent breakage.
Apply a Base Coat:
Before applying nail polish, use a quality base coat to protect your nails and enhance the longevity of your manicure. This step also prevents staining and promotes even polish application.
Choose Your Nail Polish Wisely:
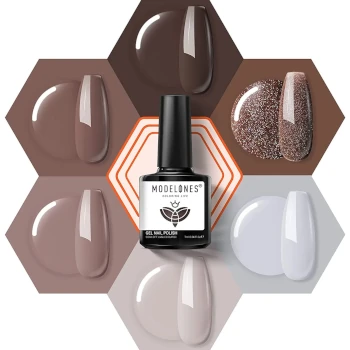
Opt for high-quality, long-lasting nail polish that is free from harmful chemicals. Look for options labeled as “5-free” or “7-free” to avoid ingredients like formaldehyde and toluene.
Perfect Your Nail Art Skills:
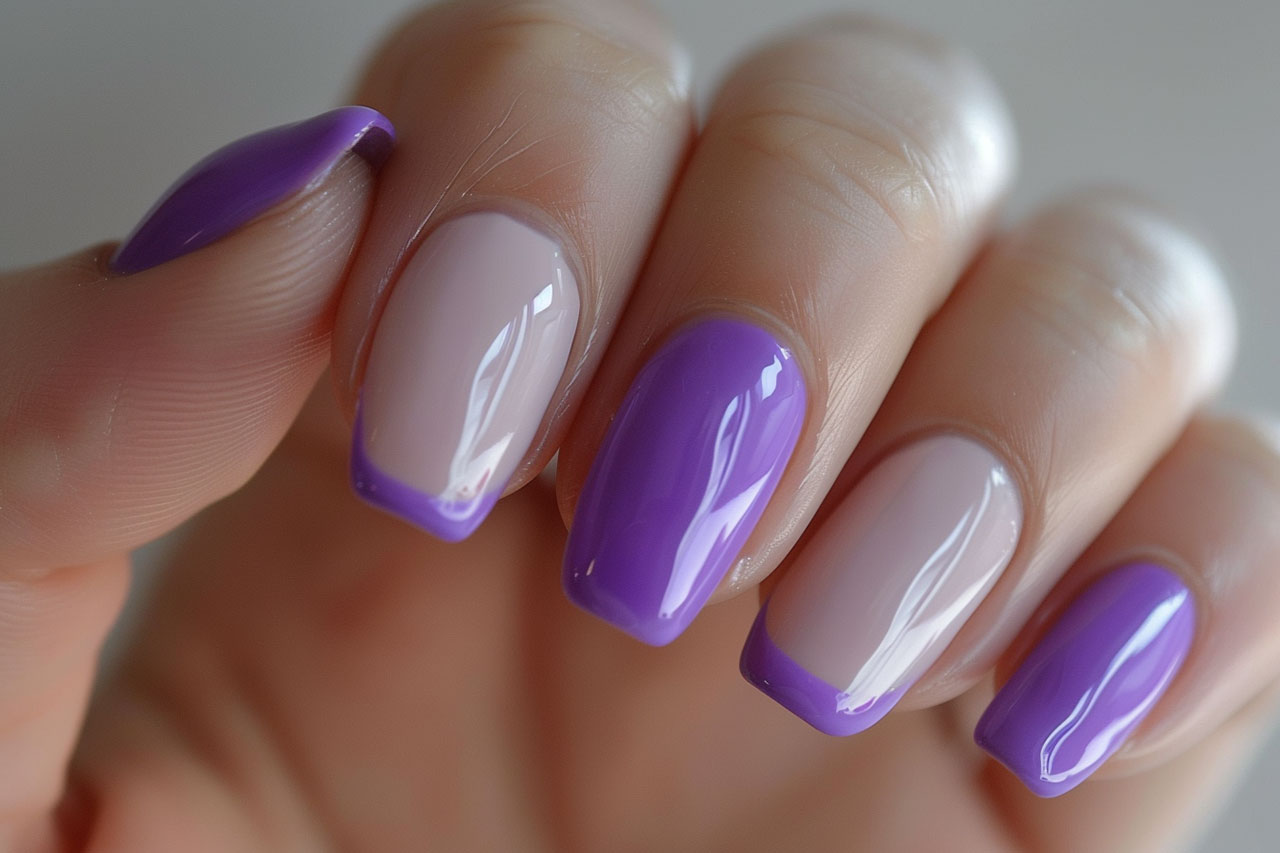
Experiment with simple nail art designs using nail polish, nail pens, or stickers. From classic French tips to trendy geometric patterns, DIY nail art adds a personalized touch to your manicure.
Finish with a Top Coat:
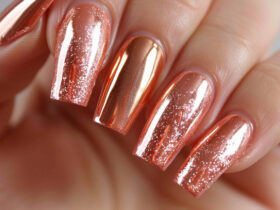
Seal your DIY manicure with a top coat to add shine and protect your nail art. A top coat also helps prevent chipping and extends the life of your at-home manicure.
With these DIY nail care steps, you can transform your nails into works of art from the comfort of your own home. From basic maintenance to creative nail art, taking care of your nails has never been more accessible. Embrace the DIY approach, and enjoy beautiful, healthy nails without the need for a salon visit. Your at-home manicure adventure awaits!


