With the growing popularity of gel and acrylic nail enhancements, more and more people are looking for safe and effective ways to remove them at home. While professional removal is always recommended, there may be times when you need to take matters into your own hands. Improper removal can lead to damaged, weak, and brittle nails, so it’s crucial to follow the right steps. In this guide, we’ll walk you through the process of safely removing gel and acrylic nails at home.
Gathering the Necessary Supplies
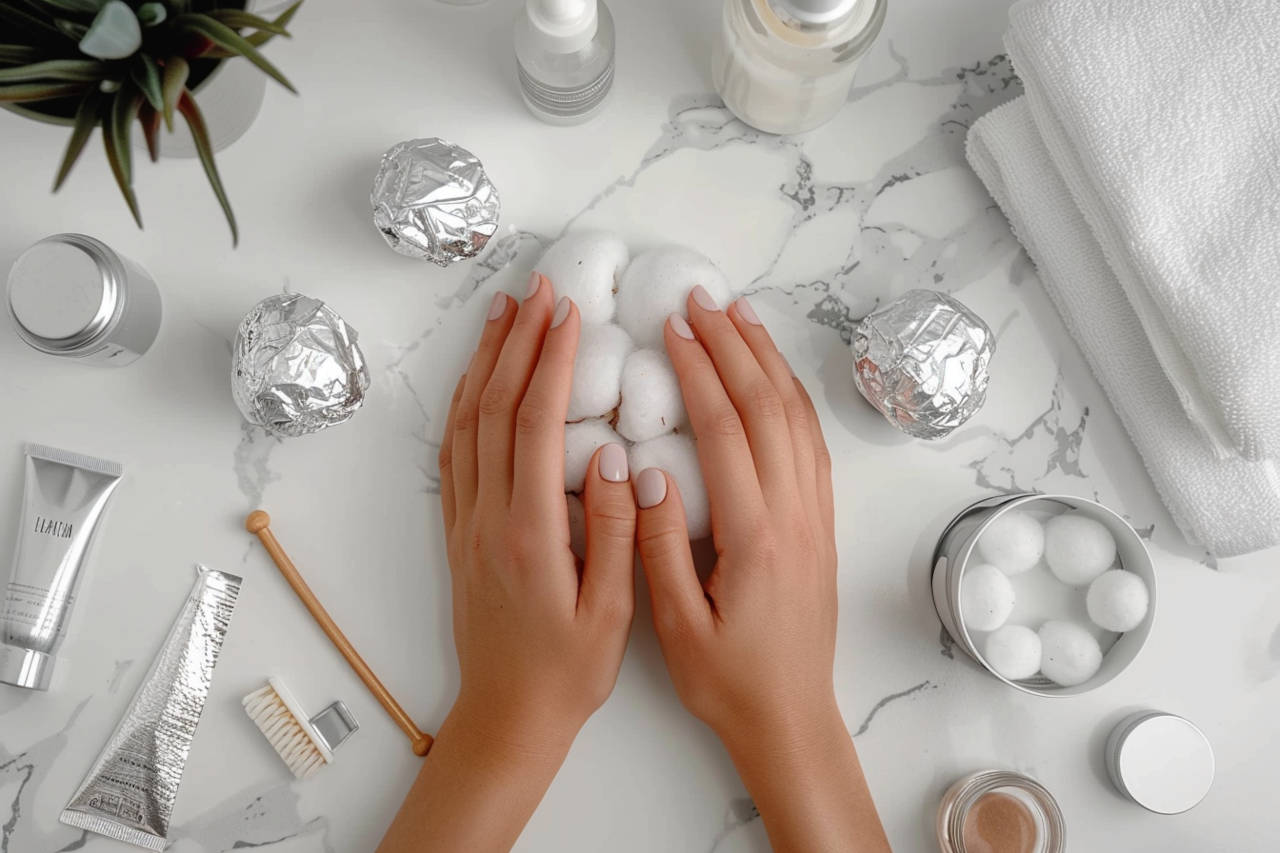
Before you begin, make sure you have the following items:
| Item | Purpose |
|---|---|
| Acetone or Nail Polish Remover | To break down the gel or acrylic |
| Cotton Balls or Pads | To hold the acetone or remover |
| Aluminum Foil | To wrap around the nails and hold the soaked cotton |
| Cuticle Pusher or Orange Wood Stick | To gently scrape off the softened product |
| Nail File or Buffer | To smooth and shape the nails after removal |
| Cuticle Oil or Moisturizer | To condition and nourish the nails after removal |
Step-by-Step Removal Process
For Gel Nails
- Buff the Surface: Use a coarse nail file or buffer to lightly buff the top shiny layer of the gel polish. This helps the acetone penetrate better.
- Soak Cotton and Wrap: Soak cotton balls or pads in acetone and place them over each nail. Wrap each finger with a snug piece of aluminum foil to hold the cotton in place.
- Wait and Soak: Let your nails soak for 10-15 minutes, allowing the acetone to break down the gel.
- Gently Scrape: Use a cuticle pusher or orange wood stick to gently scrape off the softened gel. Avoid scraping too hard, as this can damage your natural nails.
- Buff and Moisturize: Once all the gel is removed, lightly buff your nails to smooth any rough patches, then apply cuticle oil or moisturizer to nourish your nails.
For Acrylic Nails
- File Down the Surface: Use a coarse nail file to gently file down the top layer of the acrylic until it’s thin and slightly rough. This helps the acetone penetrate better.
- Soak Cotton and Wrap: Soak cotton balls or pads in pure acetone and place them over each nail. Wrap each finger with a snug piece of aluminum foil to hold the cotton in place.
- Wait and Soak: Let your nails soak for 20-30 minutes, allowing the acetone to break down the acrylic.
- Gently Scrape: Use a cuticle pusher or orange wood stick to gently scrape off the softened acrylic. Go slowly and avoid scraping too hard, as this can damage your natural nails.
- Buff and Moisturize: Once all the acrylic is removed, lightly buff your nails to smooth any rough patches, then apply cuticle oil or moisturizer to nourish your nails.
Tips and Precautions
- Work in a well-ventilated area, as acetone fumes can be strong.
- Avoid using metal tools, as they can cause scratches or damage to your natural nails.
- Don’t rush the soaking process; patience is key to ensuring the product breaks down properly.
- After removal, give your nails a break from enhancements to allow them to recover and strengthen.
- Consider applying a nail strengthener or treatment to help fortify your nails after removal.
Removing gel and acrylic nails at home requires patience and care, but it’s achievable with the right techniques and supplies. If you encounter any difficulties or excessive nail damage, it’s best to visit a professional nail technician for assistance.


