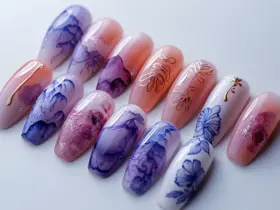
Acrylic nails have been a staple in the beauty industry for decades, but they’ve recently experienced a major comeback thanks to celebrity endorsements, social media influence, and our growing fascination with nail art. If you’re considering trying acrylic nails or just want to learn more about them, you’ve come to the right place. This comprehensive guide will cover everything you need to know about acrylic nails, from their composition to removal and everything in between.
What Are Acrylic Nails?
Acrylic nails are artificial nail enhancements made from a combination of a liquid monomer and a powder polymer. When mixed, these components form a moldable paste that can be shaped and applied over your natural nails or nail forms. Once applied, the mixture hardens, creating a durable, long-lasting manicure that adds strength, length, and thickness to your natural nails.
Read Who Invented Acrylic Nails
The acrylic nail process typically involves the following steps:
- Preparing the natural nail (cleaning, shaping, and buffing)
- Applying a primer or bonding agent
- Applying the acrylic mixture
- Shaping and filing the hardened acrylic
- Buffing and polishing the finished nails
How Are Acrylic Nails Different Than Gel Nails?
While both acrylic and gel nails are popular artificial nail enhancements, they differ in several key ways:
- Composition: Acrylics use a liquid-powder combination, while gels are pre-mixed.
- Application: Acrylics air-dry naturally, while gels require UV or LED light to cure.
- Durability: Acrylics are generally stronger and more durable than gels.
- Flexibility: Gel nails tend to be more flexible and have a more natural appearance.
- Removal: Acrylics typically require more filing during removal compared to gels.
If you’re looking for significant length and strength, acrylics might be your best bet. However, if you prefer a more natural look with some added durability, gel nails could be the way to go.
Read: Acrylic vs Gel Nails
Are Acrylic Nails Safe?
When applied and removed properly by a skilled technician, acrylic nails are generally safe. However, there are some potential risks and side effects to be aware of:
- Allergic reactions: Some people may be sensitive to the chemicals used in acrylics.
- Nail damage: Improper application or removal can weaken or damage natural nails.
- Infections: Poor salon hygiene or damaged nails can lead to bacterial or fungal infections.
To minimize risks:
- Choose a reputable salon with licensed technicians
- Ensure all tools are properly sanitized
- Don’t pick or peel off your acrylics
- Take breaks between applications to allow your natural nails to recover
- Keep your nails and hands clean and moisturized

How Long Do Acrylic Nails Last?
With proper care, a full set of acrylic nails can last 6-8 weeks. However, due to natural nail growth, you’ll need to get fill-ins every 2-3 weeks to maintain their appearance and prevent lifting.
Factors affecting the longevity of your acrylic nails include:
- Quality of products and application
- Your lifestyle and daily activities
- How well you care for your nails
- Your natural nail growth rate
How Can You Make Acrylics Last Longer?
To extend the life of your acrylic nails and keep them looking their best:
- Wear gloves when cleaning or working with harsh chemicals
- Apply cuticle oil daily to keep nails and surrounding skin hydrated
- Avoid using your nails as tools (e.g., opening cans)
- Be gentle with your nails, especially when they’re wet
- Schedule regular fill-ins to prevent lifting and breakage
- Use a good quality top coat to protect your nail color and add shine
- Avoid excessive exposure to water, which can cause lifting
How to Removing Acrylic Nails at Home?
Removing acrylic nails can be a daunting task, but with the right techniques, it can be done safely and effectively at home. In this guide, we’ll walk you through the step-by-step process to ensure your natural nails remain healthy and undamaged.
Key Takeaways
- Use 100% acetone for effective removal.
- Be patient; soaking may take several rounds.
- Always moisturize after the process.
Introduction to Acrylic Nail Removal
Acrylic nails are a popular choice for those looking to enhance their manicure. However, when it’s time to remove them, many people worry about damaging their natural nails. This guide will provide you with a comprehensive method to remove acrylic nails without the use of a drill, ensuring your nails stay healthy.
Step 1: Gather Your Supplies
Before you begin, make sure you have the following items:
- 100% acetone
- Nail cutters
- Nail buffer (with a hard and soft side)
- Metal bowl or tray
- Metal cuticle pusher
- Cuticle oil
Step 2: Remove Any Embellishments
Start by removing any crystals or embellishments from your acrylic nails. Use an old manicure kit to gently take off these decorations, as they can interfere with the soaking process.
Step 3: Trim the Length
Using nail cutters, carefully trim the excess length of your acrylic nails. This will make the soaking process easier and quicker.
Step 4: Buff the Surface
Next, take the hard side of your nail buffer and gently buff the surface of the gel polish. This step is crucial as it helps the acetone penetrate the gel polish more effectively, speeding up the removal process.
Step 5: Soak in Acetone
Pour 100% acetone into a metal bowl or tray. Submerge your nails in the acetone for about 5 minutes. After this time, remove your nails and use a metal pusher to gently clean the nail polish from the cuticle to the edge. Be cautious during this step to avoid damaging your natural nails.
Step 6: Repeat the Soaking Process
Return your nails to the acetone for another 5 minutes. You may need to repeat this process several times until the acrylic has completely softened and can be easily removed. Patience is key here; rushing can lead to damage.
Step 7: Final Cleanup
Once the acrylic is fully soaked off, use the buffer to remove any remaining small pieces of acrylic from your natural nails. If necessary, file the edges to achieve your desired shape.
Step 8: Rehydrate Your Nails
After the removal process, it’s essential to rehydrate your nails and cuticles. Apply cuticle oil generously and massage it into your nail bed and cuticles. This step is vital as acetone can be very drying, and moisturizing will help restore your nails’ health.
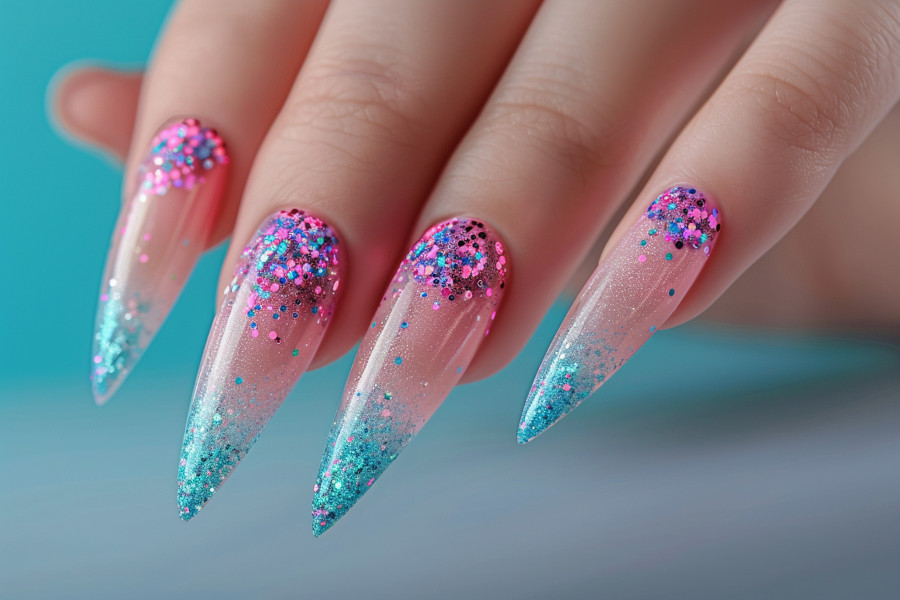
Acrylic nails can be a fantastic way to achieve the long, strong nails of your dreams and create a perfect canvas for nail art. By understanding what they are, how to care for them, and the importance of proper application and removal, you can enjoy beautiful, healthy acrylic nails. Remember to give your natural nails occasional breaks, and always prioritize nail health and safety above aesthetics.


